Setting 2FA for your partner portal
Login to
your portal, select the “home” icon on the right and select on your name.
Go to “Security”
on the left hand side.
As you can
see, it is currently disabled, to enable press “configure”.
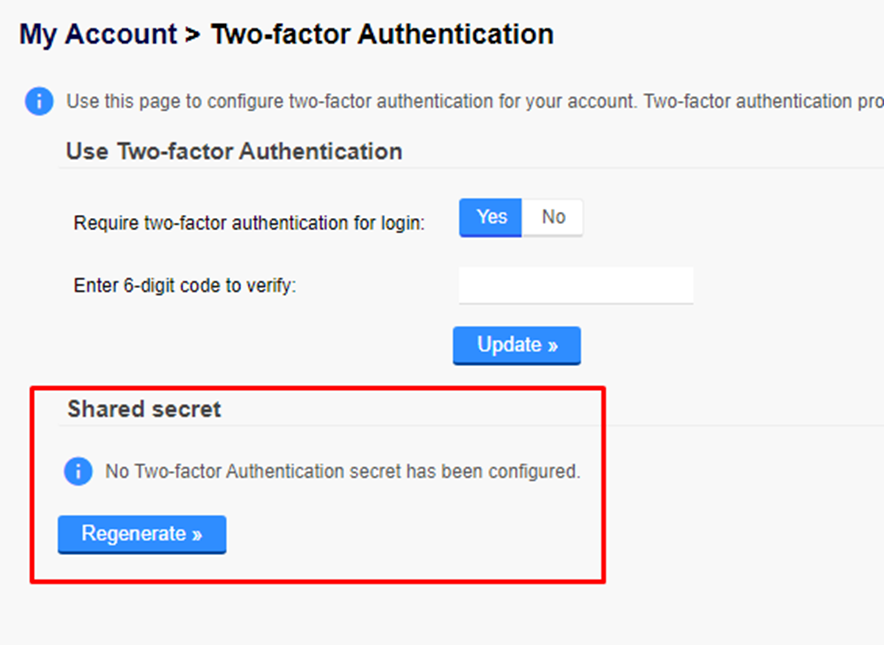
You will
see the below:
To start
turn “Require two-factor authentication for login” to “yes”.

The next
step is to generate the “shared secret”, this is the QR code you need to scan
on your 2FA app:
You will
have to confirm this message, it will clear any other 2FA you have for this address
on other devices:
You will be
given a QR code to scan and save the connection to your device. In your device
you will then be given a code to enter here:
You will
see an “updated” banner.
Related Articles
View your customers – Reseller portal
Login to your partner portal, along the top you’ll see “customers” hover over this and you will be able to select which product you want to see customers for. You will then be shown a list of all of your accounts. If the name is in red and crossed ...Adding more columns when viewing customers – Reseller portal
When viewing your customers in the reseller portal, there is drop down to the right so you can add or remove more columns, showing you more information. Select this button on the right of your screen: From here you can select or deselect what columns ...Increasing quota for your UK Cloud Backup accounts - Cloud Backup, Resellers
From inside the Partner Portal you can increase the quotas for your accounts, in this example we are doing this for a UK Cloud Backup Client, when on their account select the “Manage Backup Account Settings” button to the right: You will then see the ...Change the vault for a protected item on the partner portal – Cloud Backup PLUS
If you have created a new vault for an existing protected item you will need to ensure you assign that vault to the new item. NOTE: You cannot make a new vault on the Partner Portal, this has to be done on the installed client or your Cloud backup ...Creating an account as a reseller - Cloud Backup PLUS
Cloud Backup PLUS is the name we have given to to the reseller version of our new product SAFE Backup PLUS. To create an account on Cloud Backup PLUS for one of your clients, please login to your portal. The default address for this can be found here ...