Searching, Restoring and Downloading Microsoft Exchange Backup Data - Safe C2C
The Restore & Download option enables you to restore your backed-up data from Safe C2C’s servers. You can perform the following procedure to Restore & Download your Microsoft Exchange accounts:
- Click the Recovery element from the Navigation Panel.
The Restore & Download page is displayed with all your active-backup account details.
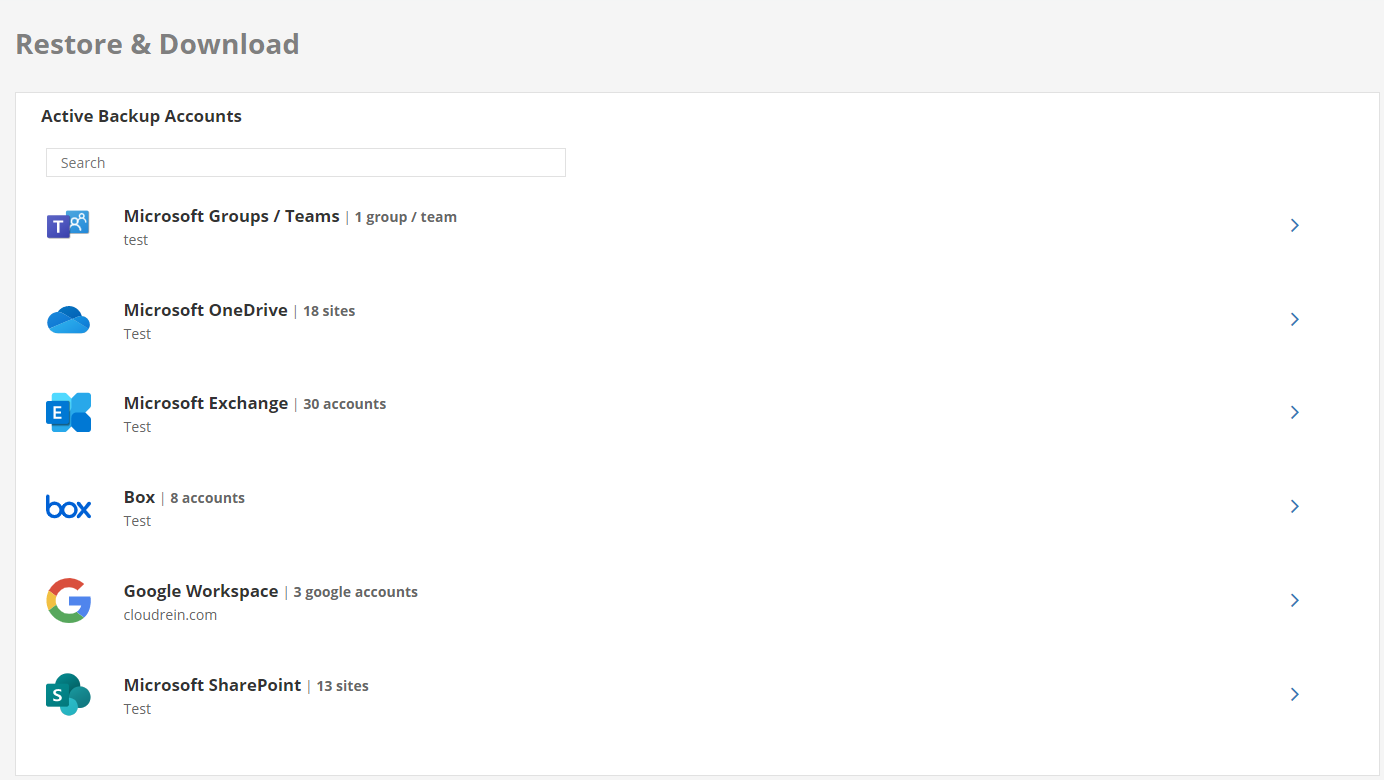
- Click the Microsoft Exchange backup task from which you wish to recover the data.
The Restore or download Microsoft Exchange active accounts page is displayed.
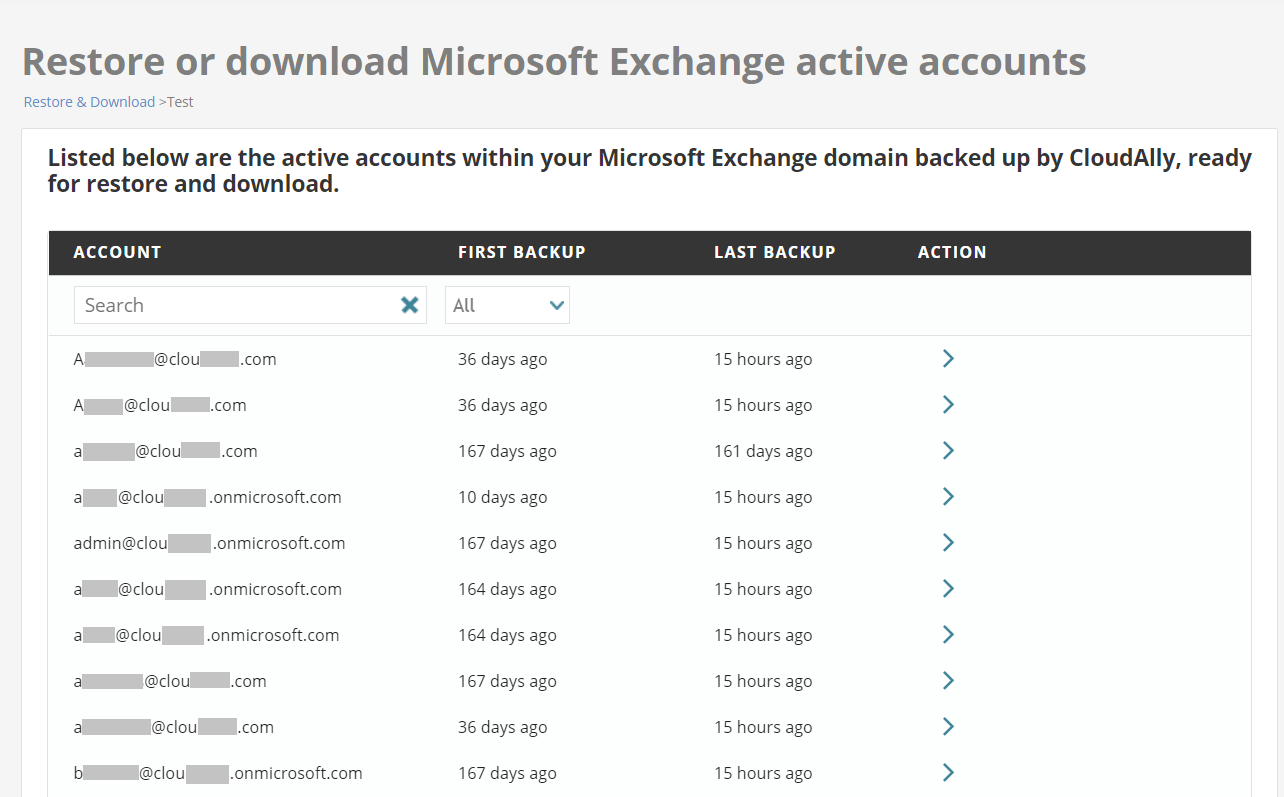 This page displays all your Microsoft Exchange domains backed up by Safe C2C with the details such as Account name, First Backup date, Last Backup date, and available Actions. Your backed-up data is ready for download, from this page. You can filter the listed accounts using the following options:
- Enter a search phrase in the Search field and all the accounts matching the phrase are displayed.
- Filter accounts by statuses such as All, Active, Not Active, Scheduled, Paused, Backed-up in another task, and In Progress, from the drop-down list.
- Click the account which you want to restore and/or download
The Restore or download Microsoft Exchange account: <account name> page is displayed.
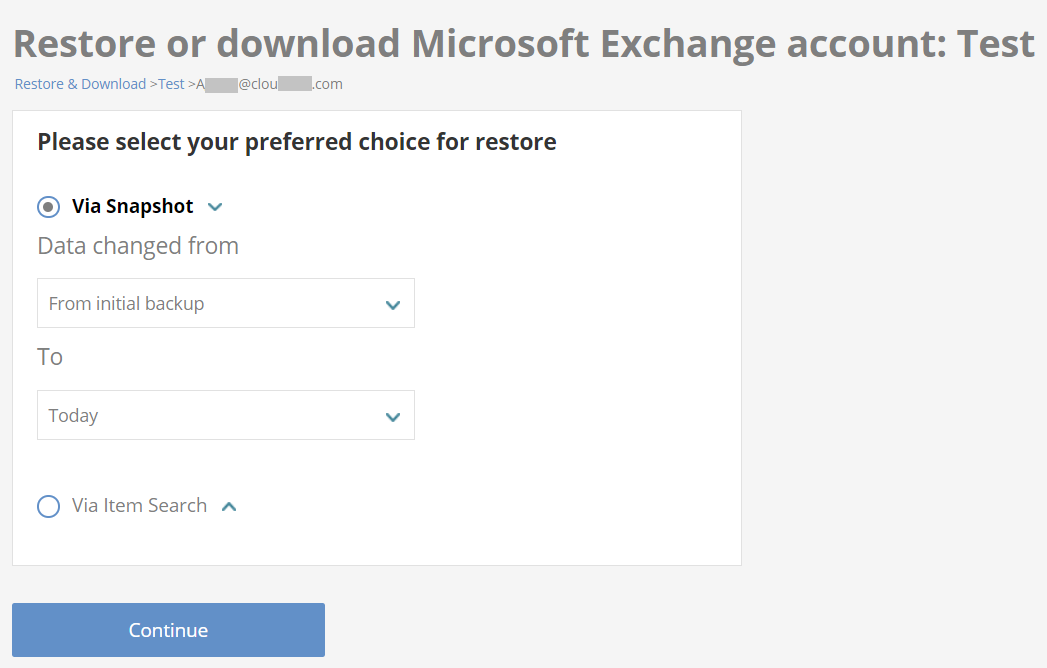
- Select your preferred choice for restore by selecting the radio buttons adjacent to the required option. Available options are the following:
- Via Snapshot
- Via Item Search
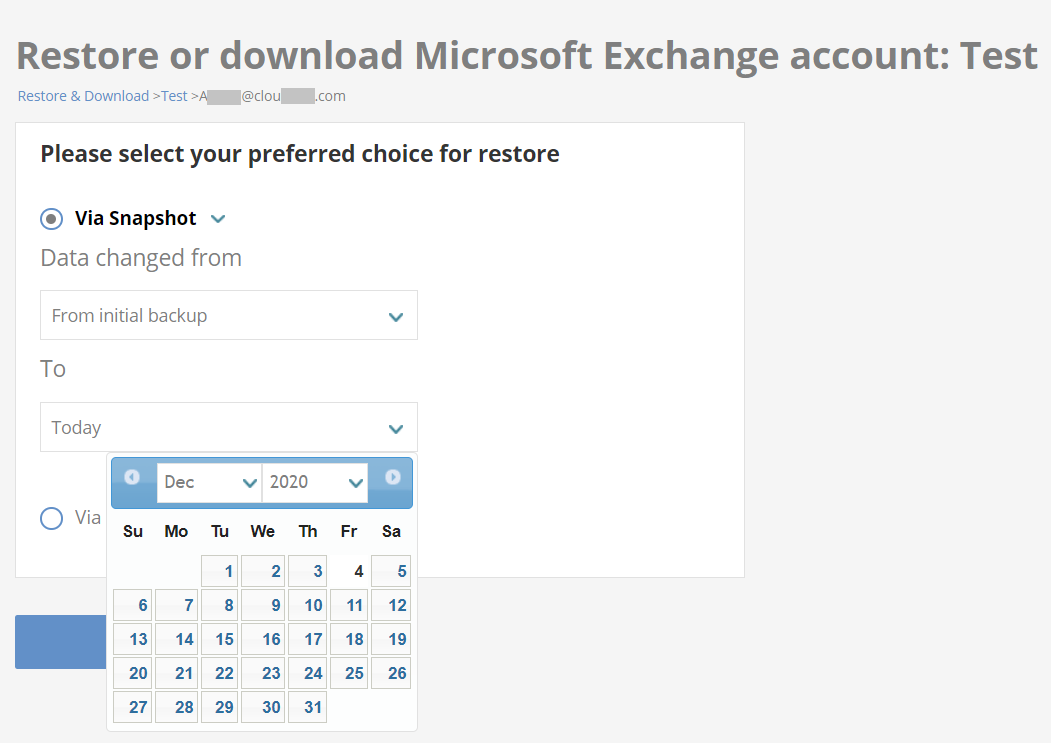
Restore or Download Via Snapshot
- Click the text fields adjacent to Data changed from and To fields to select the From and To dates from the calendar if you have selected Via Snapshot.
- The list of backup snapshots for the selected account is displayed. Select the snapshot you want to be recovered.
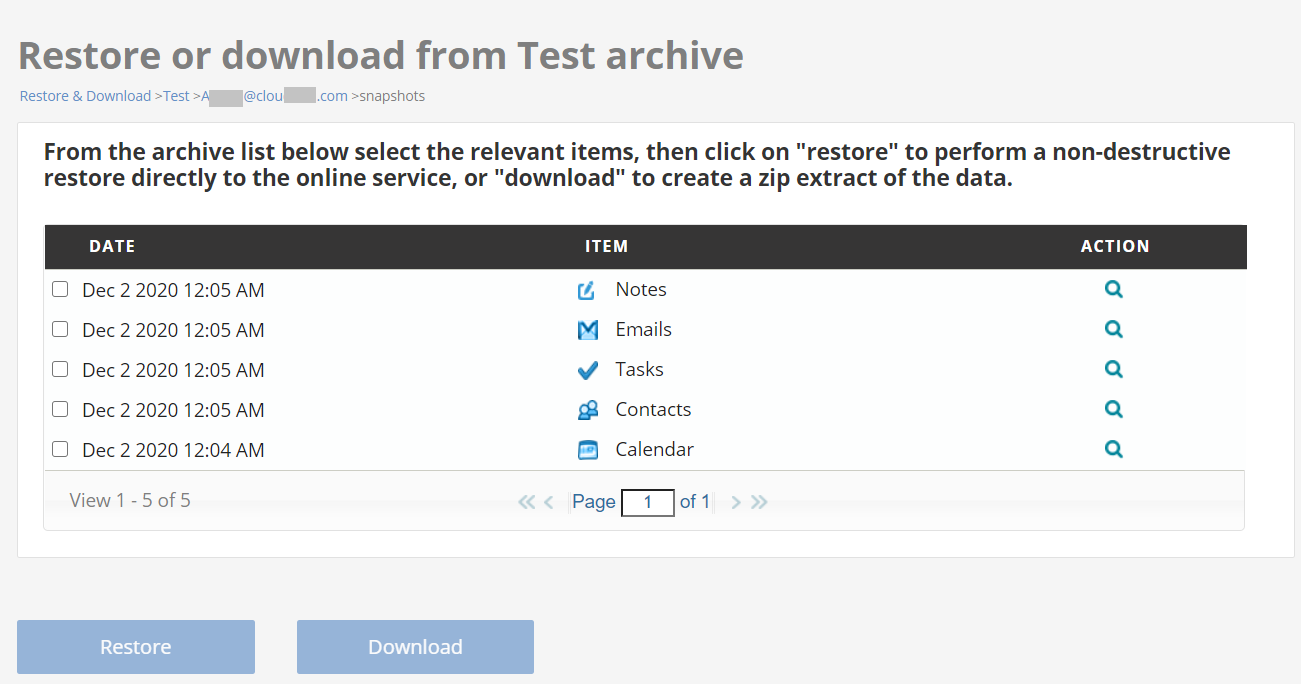
- You can restore the entire snapshot by clicking the Restore or Download buttons at the bottom of the page.
- Alternatively, you can click the
 button to drill-down into the snapshot and view the item level structure of the backup data. There you can select one or more items for recovery.
 - Once you select a snapshot (if you wish to recover all the data in the backup), or an item/items (if you wish to recover only selected items), the buttons Restore and Download become available.
- If you click the Restore button, the restore confirmation dialog window appears
- If you click the Download button, the download confirmation dialog window appears
Please proceed with the instructions found in the Confirm the Restore or Download section to complete the process.
Restore or Download Via Item Search
- Select the radio button adjacent to one of the following options:
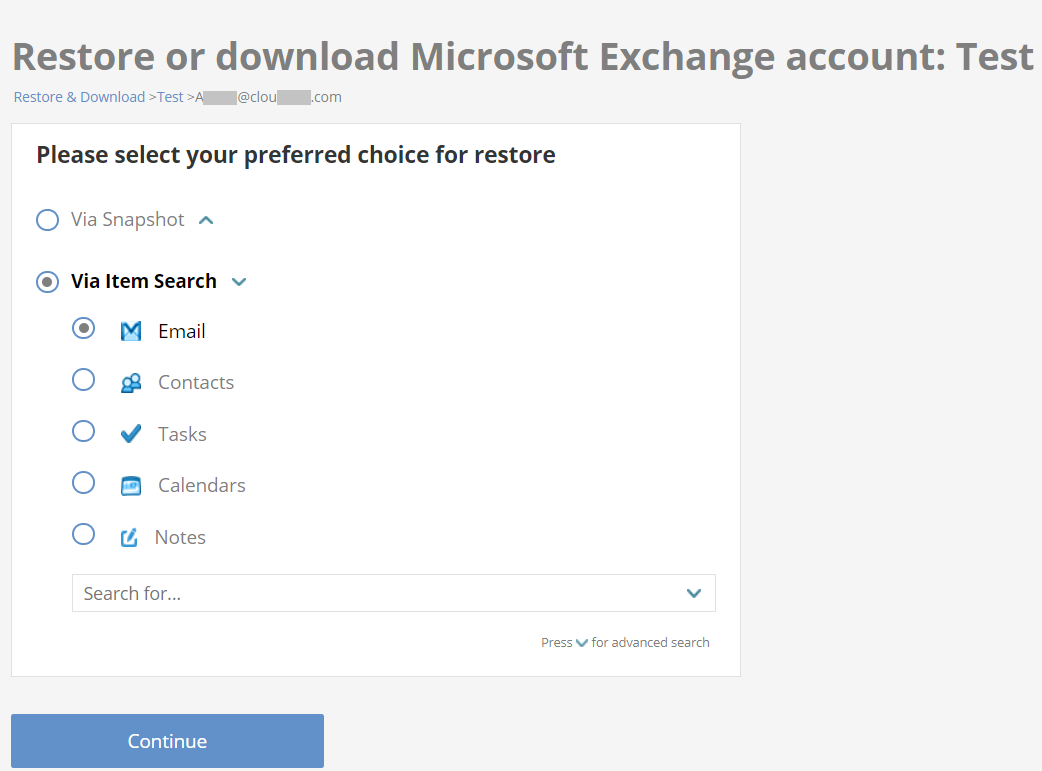
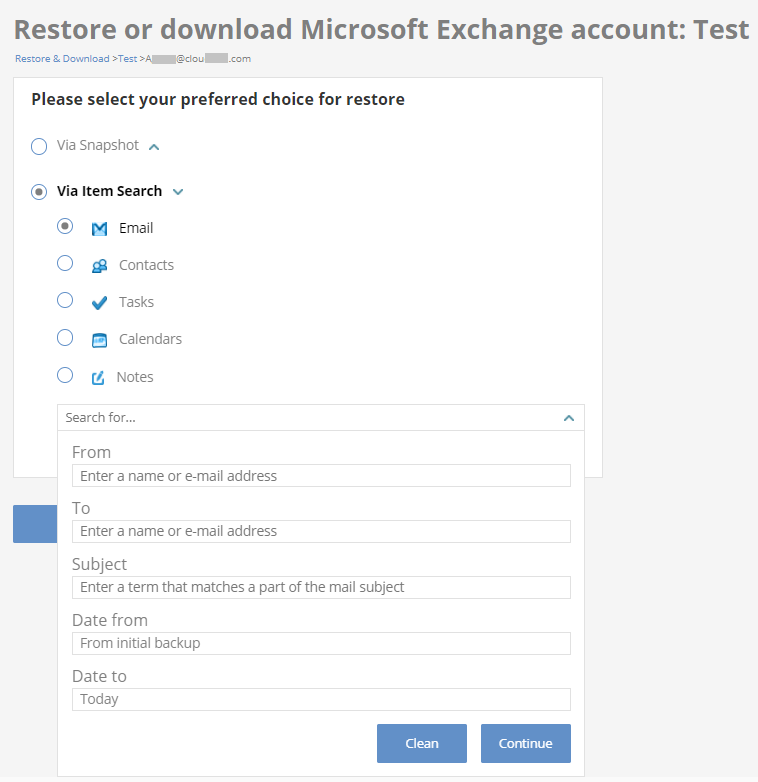
- Email – Enter a search keyword in the Search for field. For advanced search options, click the icon and provide the following details in the drop-down form:
- From: Enter a name or email address from which the email was received, surrounded by double-quotes (e.g., "JohnDoe@company.com").
- To: Enter a name or email address to which the email was sent surrounded by double-quotes (e.g., "JohnDoe@company.com").
- Subject: Enter a keyword that matches with any text in the email subject.
- Date from: Enter the date from the initial backup, from which you want to download the data.
- Date to: Enter a date until which the data need to be downloaded.
- Contacts: Enter a keyword in the Search for
- Tasks: Enter a keyword in the Search for
- Calendars: Enter a search keyword in the Search for field. For advanced search options, click the icon and provide the following details in the drop-down form:
- Description: Enter a keyword that matches with the part of the event description.
- Owner: Enter the name or email address of the owner.
- Date from: Enter the date from the initial backup, from which you want to download the data.
- Date to: Enter a date until which the data need to be downloaded.
- Notes: Enter a keyword in the Search for field
- Click the Continue button.
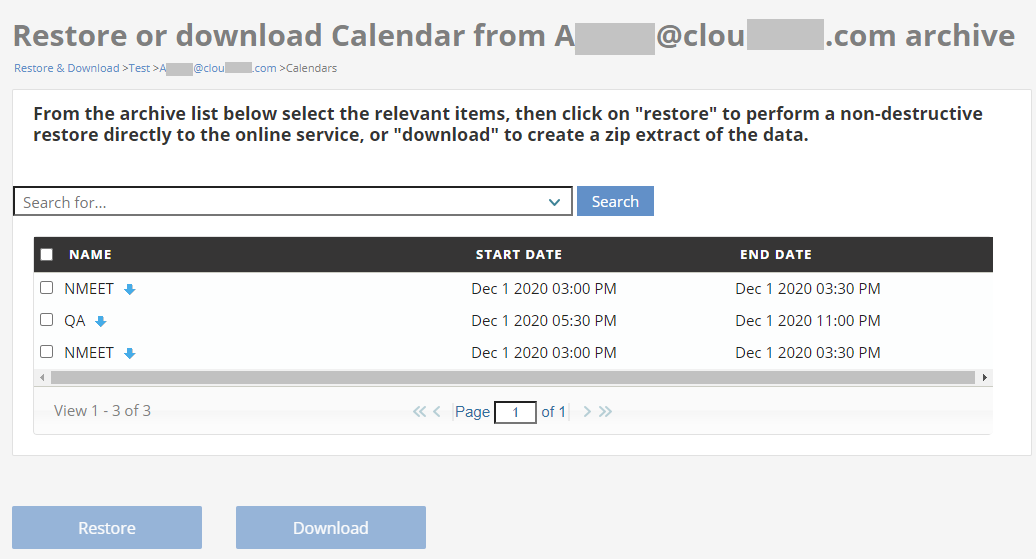
The Restore or download <item type> from <account name> archive page is displayed. This page displays the search results with the details such as Date, Subject, Folder, etc. The details columns are different for different types of restored items.
- Select the check-box adjacent to the required items to be restored or downloaded. When at least one item is selected the Restore and Download buttons and become available.
Confirm the Restore or Download
If you click the Restore button, the restore confirmation dialog window appears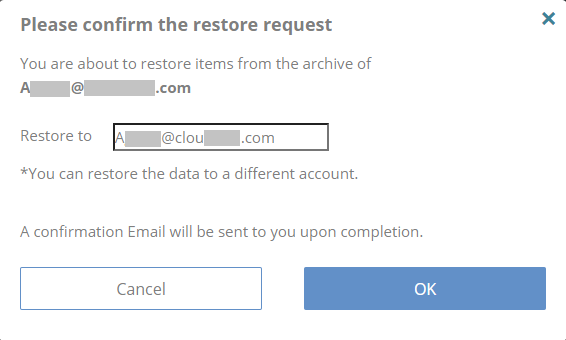
 Note: You can restore the data to a different account but within the same domain.
- Enter the account to which the data needs to be restored in the Restore.
Click the OK The selected backup data will be restored to the specified account. When the recovery process is complete the results summary is sent to your email.
If you click the Download button, the download confirmation dialog window appears: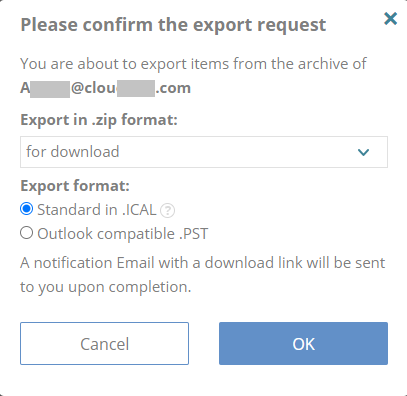
The dialog is adjusted to the type of exported items and may have the following options:
- Standard in .CSV – the download file(s) type would be according to your section: emails in EML format, Contacts in VCF format, and Calendars in ICS format.
- Outlook compatible .PST
- Click the drop-down list and select the storage. Available options are the following: For Download, to your Amazon S3, to your Azure Blob, to your Box.com, to your G Suite, to your Amazon S3 Compatible, to your GCP Storage. If you select options other than “for download”, you may be asked for additional credentials and/or access tokens for the selected storages.
- Click the OK button to download instructions are sent to your registered email address. The download link is valid only for 72 hours.
Once the Restore/Download process has been initiated, you can view the current status in the Restore & Download Status section in the Restore & Download page with the details such as Type, Source, Date, Status, and Action.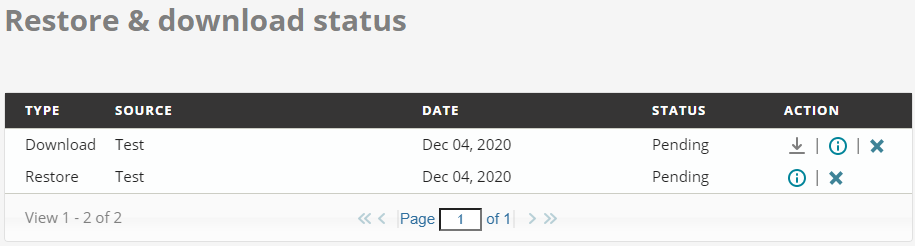
In the Action column, you can click on the ![]() icon to view the details in a popup window. You can also click the
icon to view the details in a popup window. You can also click the  icon and click Yes in the Confirm Cancellation window to cancel the ongoing process.
Restore Public Folder Backups
The Safe C2C restore process creates a sub-folder that will need to be added as a new Public Folder in order to access the restored data. Follow the normal Office 365 Exchange Online procedures to create a Public Folder, using the Safe C2C restored sub-folder as the path, as well as any additional sub-folders that are included in the restore.
Related Articles
Creating a Microsoft 365 Exchange Backup - Safe C2C
To create a backup for Microsoft Exchange: Sign in to your Account, or if you are already signed in, click the Homepage option in the Navigation Panel. On the Backups page, click + Add Backup Task. The Activate a New Backup page is displayed. Click ...Searching, Restoring & Downloading Microsoft SharePoint Backup Data - Safe C2C
The Restore & Download option enables you to restore your backed-up data from Safe C2C’s servers. You can perform the following procedure to Restore & Download your Microsoft SharePoint sites: Click the Recovery element from the Navigation Panel. ...How to backup Office 365 Exchange - SAFE C2C
Our new Cloud to Cloud backup solution is perfect for backing up your cloud solutions to our cloud storage. We can backup numerous products, including SharePoint, G Suite/Google workspace, Dropbox, Office365 Exchange, Salesforce and many more. For ...Managing Microsoft Exchange User Account Backups - Safe C2C
Selecting Relevant Accounts If You are not in the Microsoft Exchange backup task Settings page, then do the following: Portal will open on “Homepage” which shows your backups. Click the Microsoft Exchange icon, or enter a keyword in the Search field ...Searching, Restoring & Downloading OneDrive Backup Data - Safe C2C
The Restore & Download option enables you to restore your backed-up data from Safe C2C’s servers. You can perform the following procedure to Restore & Download your OneDrive sites: Click the Recovery element from the Navigation Panel. The Restore & ...