Schedule changes for Cloud Backup PLUS accounts – Cloud Backup PLUS
If you ever need to add, change, or completely remove the schedule for a protected iten. You can do this inside the Reseller Portal.
Navigate to the account you want to change the schedule for via the search bar, or the “customers” option in the navigation menu.
Find the protected item you wish to change it for and select the settings cog.On the left you will see “schedule”.
To add
a schedule, press the green “+”.
From here you can name the schedule, and select the Storage vault if you have more than one. It is advisable to select “Skip if already running”, if the backup is still running it won’t try and run another then, and then report as skipped.
You
can set the time on the time tab, again, press the green “+” button to add
this.
And
set your requirements via the available options.
Press
Save and you will it populated in the Description box.
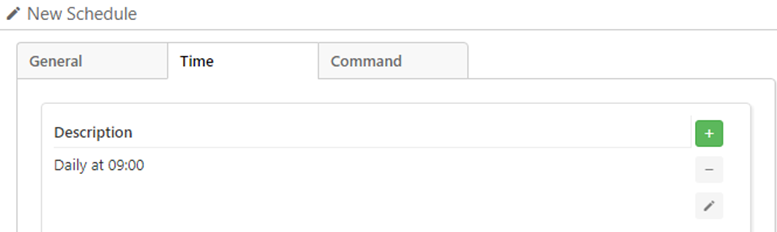
You
can add a command to run here as well.
Press
save on all pages when done. You can now see the schedule listed.
To
edit the schedule, select the schedule and press the pen button.
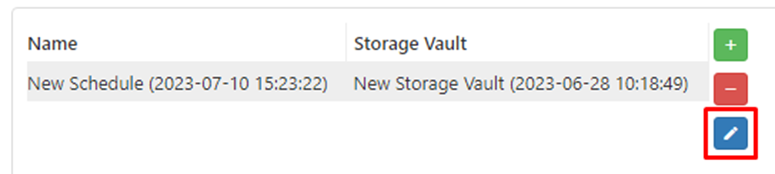
From here you can edit general settings, the time, or add a command prompt to run. As before, press Save on every page you make a change on, then again on the final page.
To remove the schedule, highlight it and press the red “-“.