Creating a Microsoft 365 Exchange Backup - Safe C2C
To create a backup for Microsoft Exchange:
Sign in to your Account, or if you are already signed in, click the Homepage option
in the Navigation Panel.
On the Backups page, click + Add Backup Task.
The Activate a New Backup page is displayed.
Click
Microsoft Exchange.
The Microsoft
Exchange Backup Task Settings screen appears.
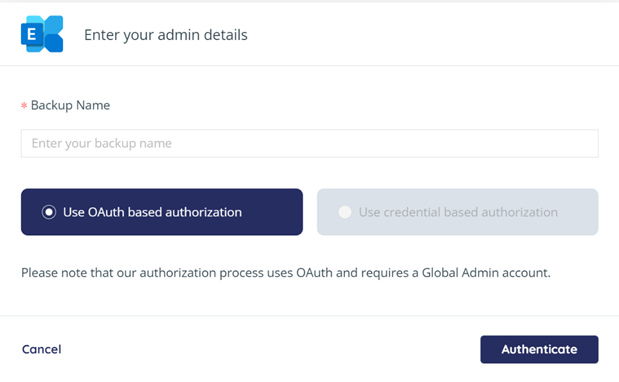
Fill in the
name of the backup task. This name is used in the notifications and reports,
and it can be changed later.
You will see the OAuth based authorization
Click Authenticate to start the process of granting the access token. You will
be redirected to the Microsoft Exchange sign-in page. Enter the credentials to
sign in to your Microsoft Exchange account.
Use credential-based authorization is not
active by default, and we don’t recommend it. If you would like to use this,
contact Safe data storage support.
You will be redirected to the Backup
Task page, where you can adjust the settings of the backup.
1. You can change the name of the backup task by clicking the pencil icon.
2. The Connected / Disconnected icon indicates whether the application was able to connect to the specified MS 365 account. If the authentication token granted for the application becomes invalid (e.g., it expires due to inactivity because you put the backup task on pause for a long time), the Connected icon changes to the Disconnected icon. To grant the application a new token, click on the icon to open the authentication dialog, and repeat the authentication process.
3. By default, the Index all data for Search option is selected, which enables SAFE C2C to provide you with its granular search and restore functionality. In the process, your data is temporarily decrypted for a brief period of time, and then re-encrypted once the index is built. If this goes against your company policy and you would like to disable automatic indexing, please contact Support.
4. In the Microsoft Exchange system, accounts can have a Microsoft “Unlicensed” status (not to be confused with “Unlicensed CloudAlly product”). These can be the external accounts invited by users with an active license, accounts automatically generated for shared file storage, etc. Check the Backup Task page to see which accounts are MS licensed and unlicensed.
5. If a period of time is not selected here, auto archived backups are kept as long as the account is live.
6. Allows for new mailboxes added to Exchange to be automatically included in the backup.
7. Allows you to set an activation rule.
8. This setting you will not be able to change,
9. Schedule for the backup. Available options are; Daily, every 3 days, weekly.
Once configures, you will need to activate the backup, navigate back to the list of the accounts. Select one, or more (or all) accounts, click “Action” and then “Activate” – these will now run on the schedule set.
There is also the option “Backup now” if you want to run this at the time.
Please don't hesitate to contact us if you still require assistance. You can email us on support@safedatastorage.co.uk, or call us on 01689 661030 and our dedicated support team will be happy to assist!
Related Articles
How to backup Office 365 Exchange - SAFE C2C
Our new Cloud to Cloud backup solution is perfect for backing up your cloud solutions to our cloud storage. We can backup numerous products, including SharePoint, G Suite/Google workspace, Dropbox, Office365 Exchange, Salesforce and many more. For ...Managing Microsoft Exchange User Account Backups - Safe C2C
Selecting Relevant Accounts If You are not in the Microsoft Exchange backup task Settings page, then do the following: Portal will open on “Homepage” which shows your backups. Click the Microsoft Exchange icon, or enter a keyword in the Search field ...Searching, Restoring and Downloading Microsoft Exchange Backup Data - Safe C2C
The Restore & Download option enables you to restore your backed-up data from Safe C2C’s servers. You can perform the following procedure to Restore & Download your Microsoft Exchange accounts: Click the Recovery element from the Navigation Panel. ...Activating a Box Backup - SAFE C2C
This section details the process of creating new backup accounts for Box. Note: An Admin account with As-User impersonation is required in order to backup all Box user accounts, including admins and co-admin accounts. Note that a co-admin account ...Activating a Dropbox Backup - SAFE C2C
This section details the process of creating new backup accounts for Dropbox. Note: Dropbox limits the API calls used in SAFE C2C’s restore process to 1,000,000 per month for many of their business plans. Once the limit is reached, no other items can ...